Reply With Quote
Awesome! Well.. not the problem, but at least you've narrowed it down.
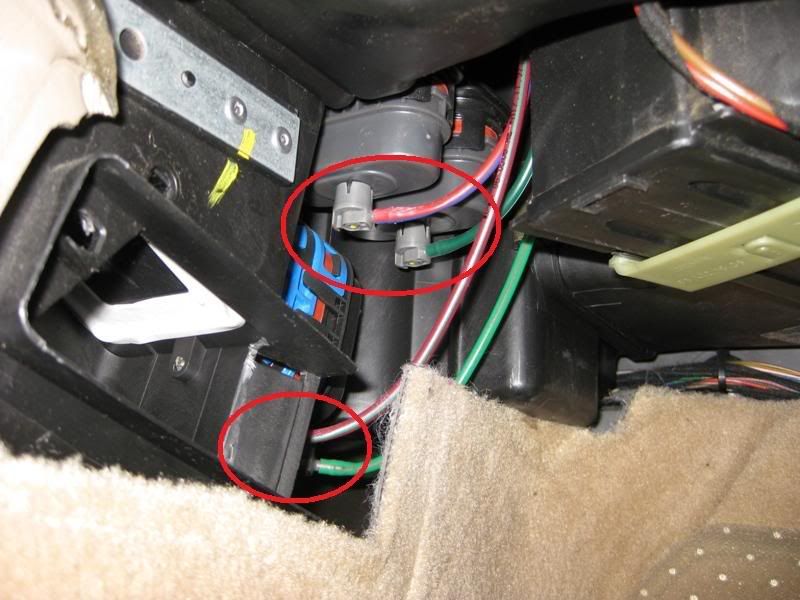
Let's see.. the way I replaced the bellows was by first taking them off of whatever they are attatched to via a clip. The clip should be on the backside, and i beleive the bellows slide UP to come out. Then, once the bellow was detatched, I proceeded to remove the metal arm that connects it to the flap (from the bellow side). I did this by pretty much peeling it off like distribution block thing. ie: rotating the billow to kind of 'pop' it off the lever. 'like a bottle opener'.
Now with the bellow just connected to the vacuum line, if I recall correctly, i stuck mini screwdrivers or something small around the opening to pry the locking mechanism open and get the vacuum line out. I beleive the lines we're held in place this way.
Replacing it is easier, and you should be able to follow the same procedure in reverse order.
If it takes some time, dont get too frustrated, even if you can see them, they are still quite difficult to work with.
Also, if you find that number 352 is one that is bad, and number 154 (the center vent controller), try replacing number 154 first. If you can reach it without removing the dash, maybe you might be interested in just sealing the number 352 line. If you get the cenver vent bellow replaced, try covering the number 352 line with your finger from the distribution block end and see what happens when you change the vent positions.
Also, for some reason, and this might make your task easier, sometimes 2 lines found at the distribution block connect to only 1 billow. Best way to find out is to write down the colors of the lines that are bad, and try and trace them. Some are easier to find than others, but like I said, number 352 is just stupid. If you can reach, play around the the metal arms to see what they control, but be careful, their edges are like razors!
keep me posted
zade