-
 HOW TO: Remove & Fit C43/Standard rear bumper W202
Following on from my HOWTO of the front bumper
HOW TO:
Remove & refit a rear bumper to a W202 - Pre/Post facelift/C36/C43 AMG
Time taken:
Under 1 hour
Tools required:-
13mm Socket, Small knife or screwdriver, another person for helping hold the bumper upon removal/refitting.
Parts required:
C43 bumper
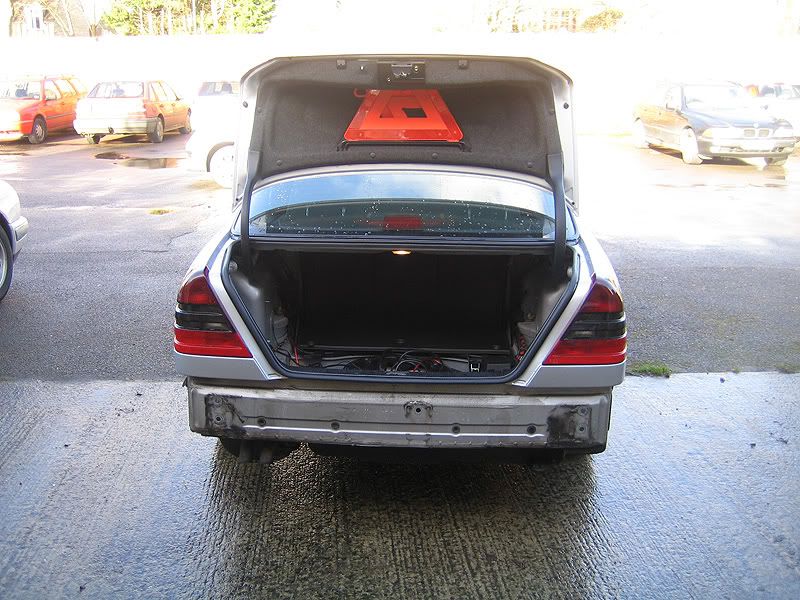
1. First of all completely clear your boot. With it empty remove the flooring by pulling up the handle and fold over the left hand side floor carpet (this will make sense when you pull it out):
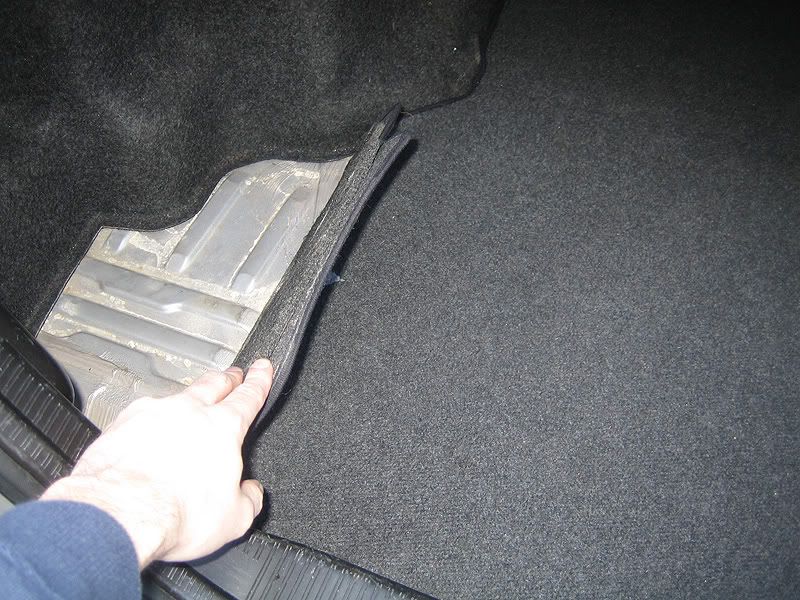
2. With the boot floor removed you will now need to remove both of the side trims - this is alot more difficult. I'll Start with the right hand side although the left hand side is slightly easier.
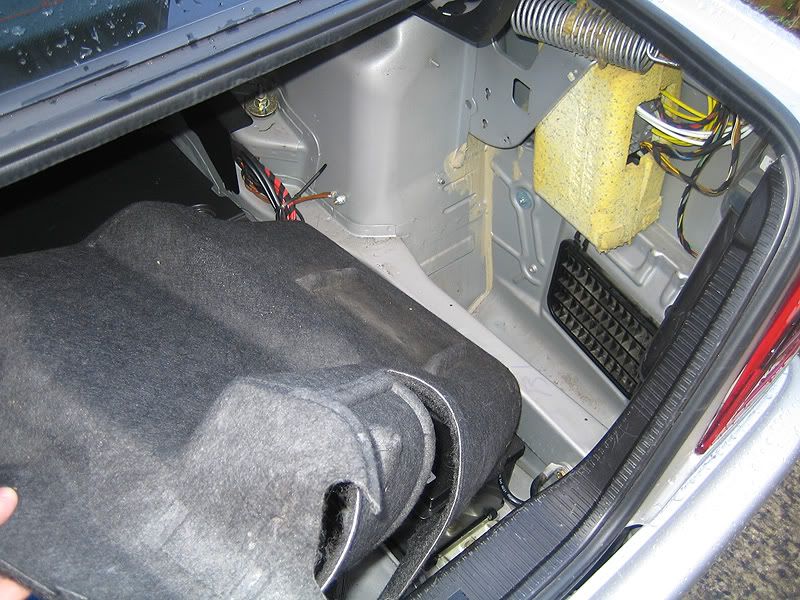
First up, prise off both the plastic trim plugs (see below) from the side of the rear light clusters.

With both plugs unclipped you will have to pull the trim/carpet out from behind this, and the remaining boot walls. Ive found this to be possible by folding & pulling at the same time, follow it around the spring mech and then it will become loose. (expect to cut/graze at least one of your fingers - see my little finger in the picture below! ") :crazy: )
:crazy: )
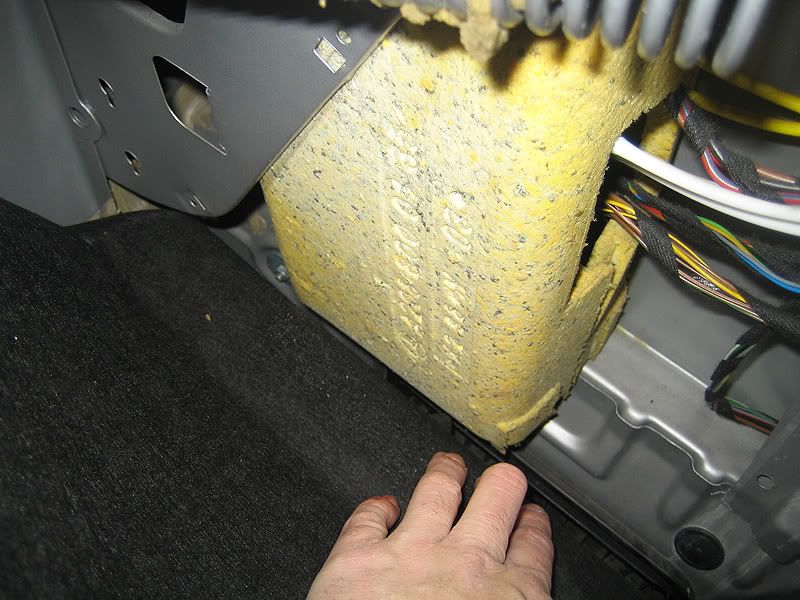
Take care when moving it from around the yellow spounge located on the sidewall
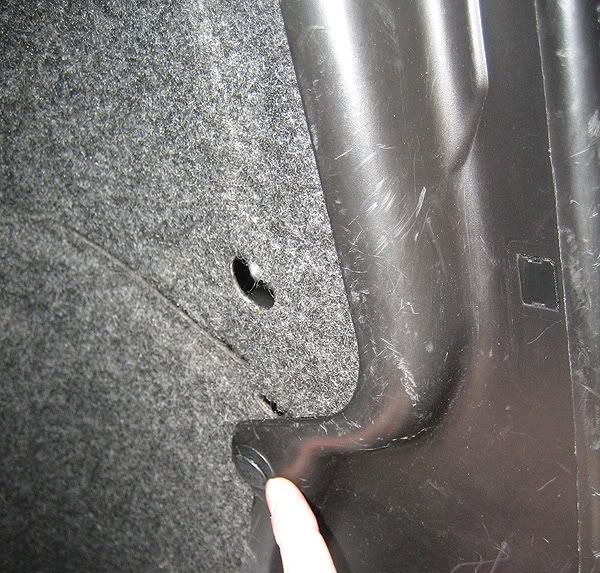
3. Repeat this process on the right hand side - far easier with the lack of a recessed well:
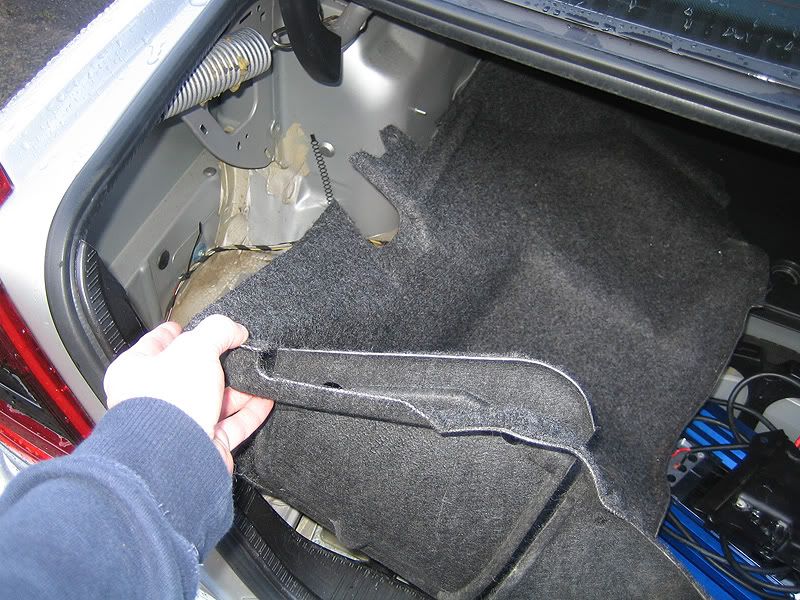
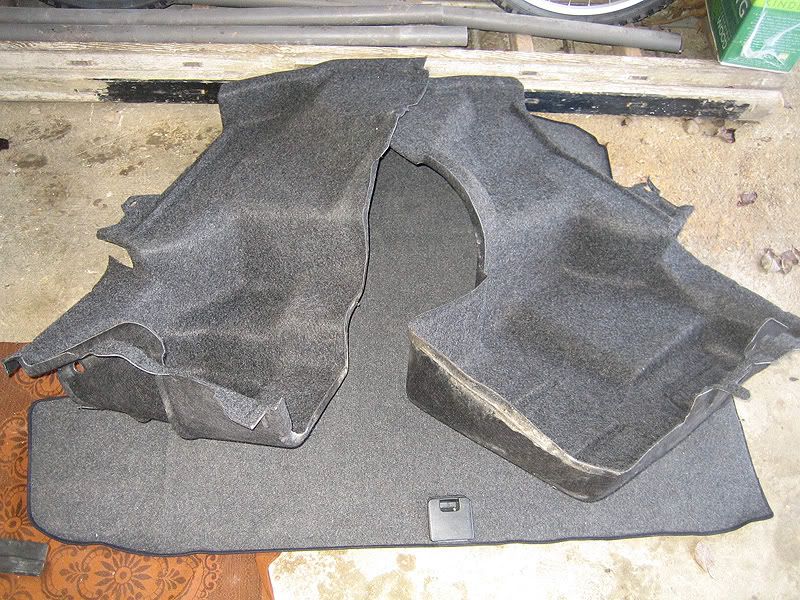
Once all the trim has been removed, place them somewhere safe.
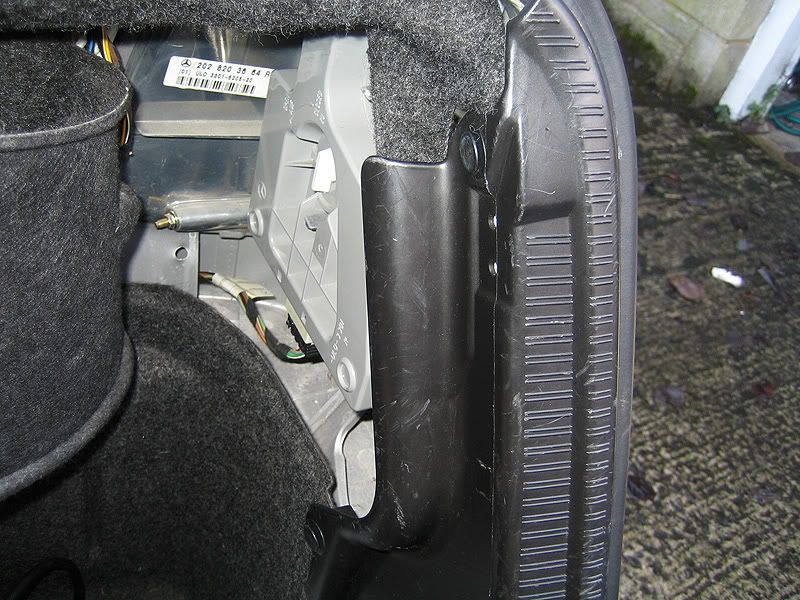
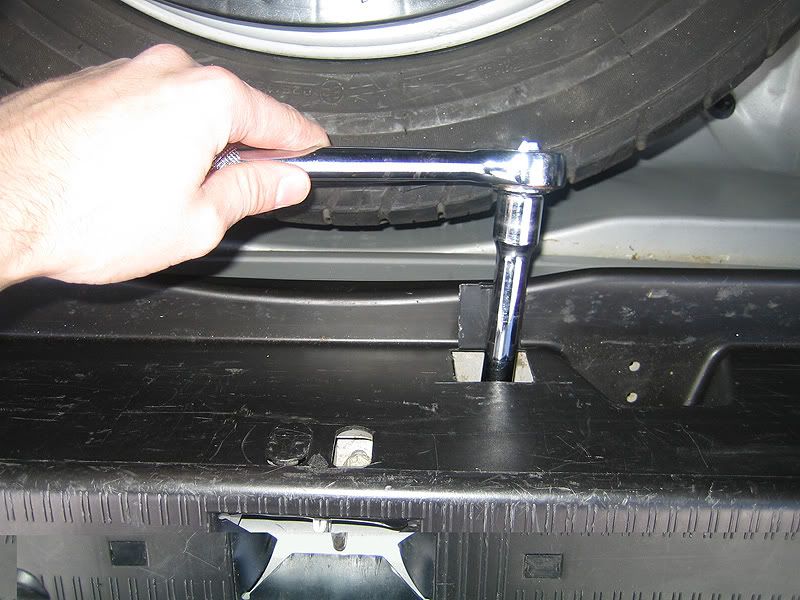
4. Now to finally start removing the bumper!. first up, remove the seal in the centre that allows access to the centre bolt (if this sear has been broken the bumper has already been replaced/removed):
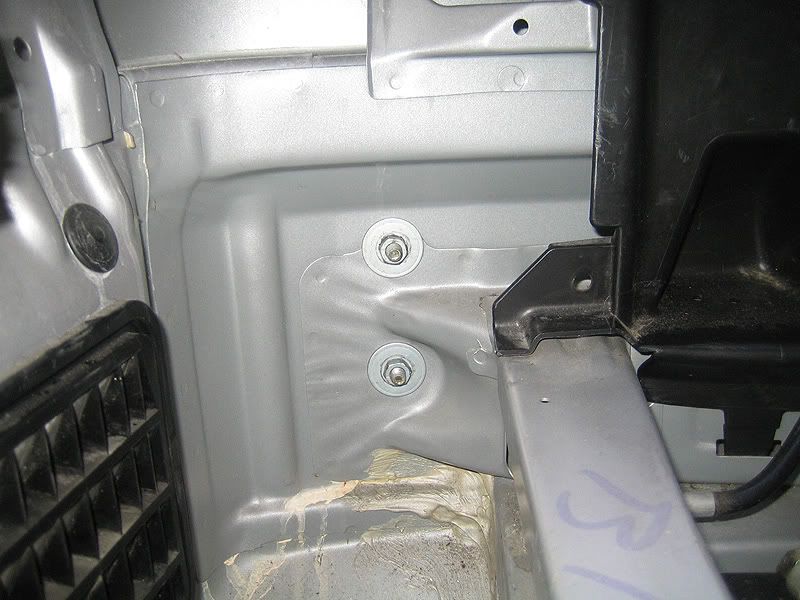
By now you should have noticed the 2x bolts located in each both corners of the 2 sides
Right hand side:
Left hand side: (It would appear a builder owned my car before me judging by the rubble )
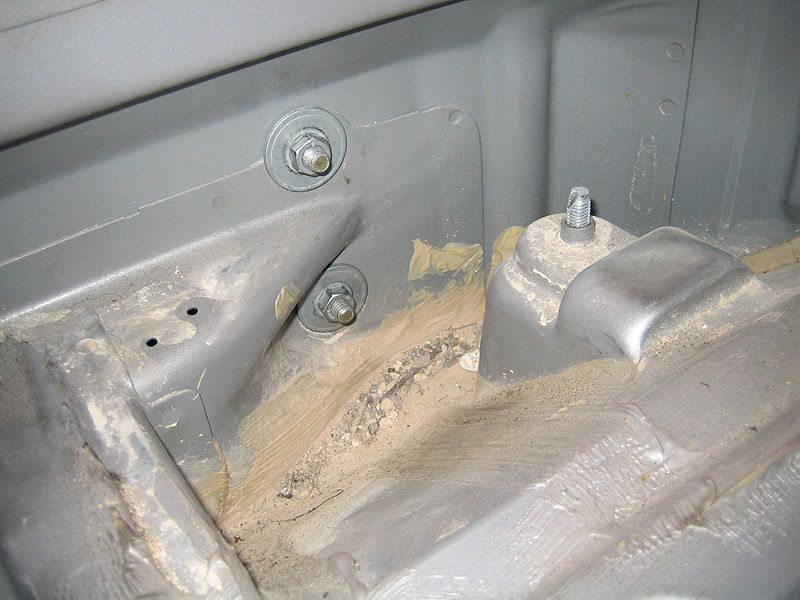
Starting with the centre bolt, unsrew all 5 with a 13mm wrench - the centre bolt is deep so watch you dont lose the nut when its unscrewed!
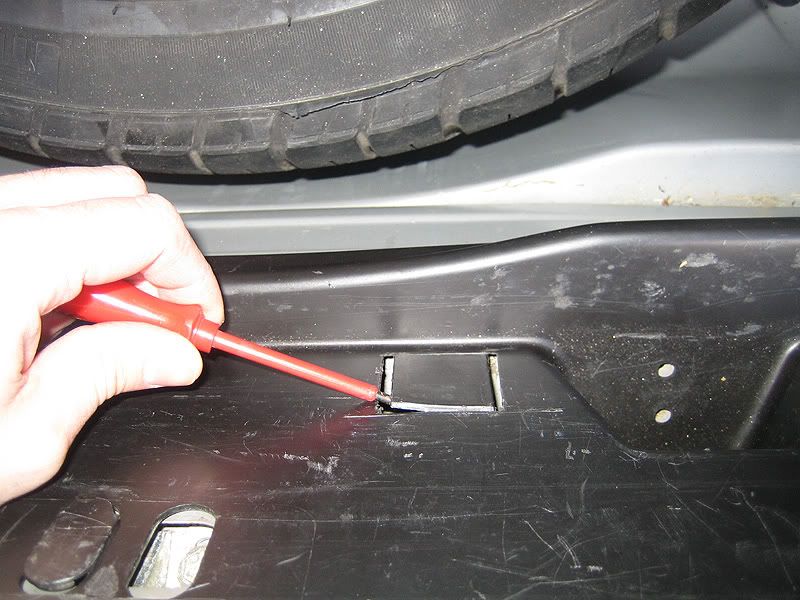
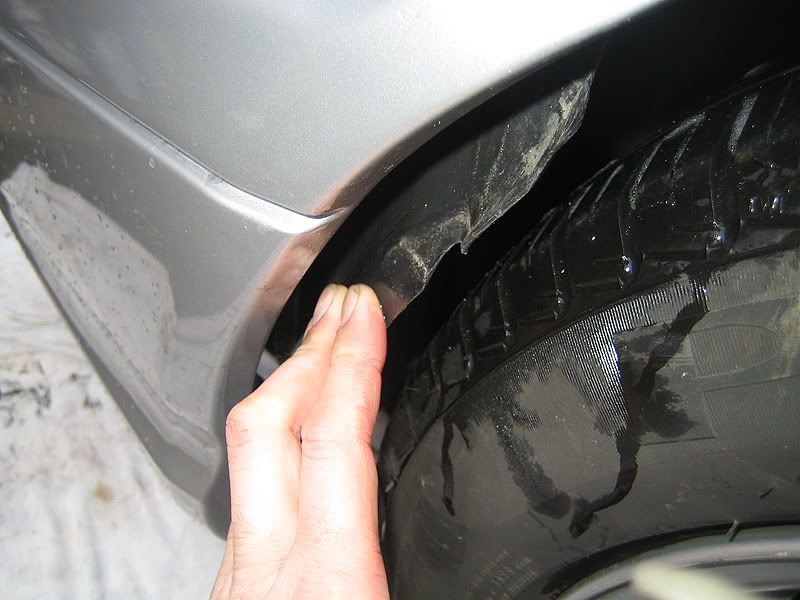
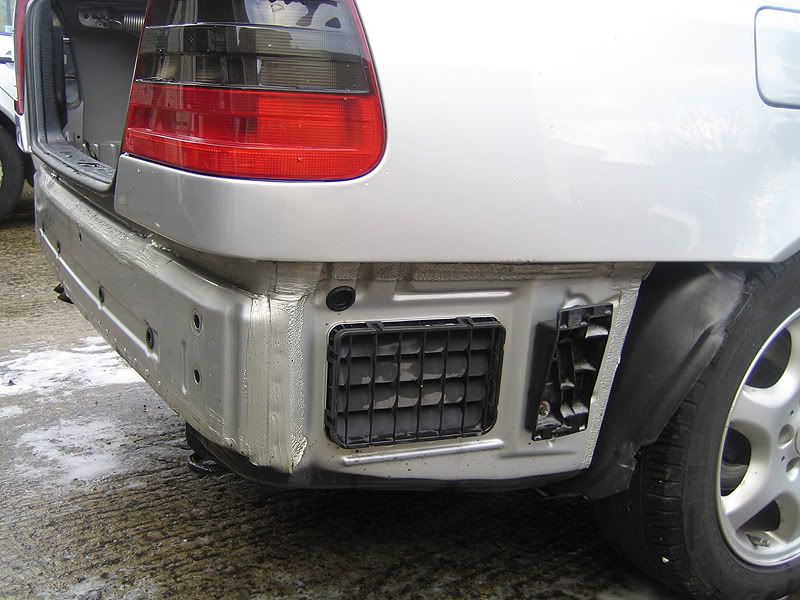
5. Back on the outside of the car, pull free the wheel arch lining so it doesnt prevent you from pulling free the bumper:
6. With everything out of its way, 'simply' pull the bumper off the car.
Start at the top of each wheelarch and push hard towards the rear of the car -
it is 10times easier if you get someone else to help you, not only will it be virtually trouble free you wont have the risk of dropping 1 side scratching it on the ground!
Dont be alarmed when you hear a loud screeching noise as soon as you begin pulling away the bumper, its the friction from the bumper rails.
Take your time with this, pulling from 1 side at a time!
7. With the bumper off, carefully place it on a rug/carpet or some grass.
As you can see from the pictures below, X amount of years of mud/dirt will be attached to the chassis. I recommend giving it a good cleaning as this will one day cause some unseen rusting:
8. Refitting is basically the reverse - again is by far better with someone else helping out.
You may have some grief lining up the bumper when you refit it, eg gaps on one side/perfect on the other.
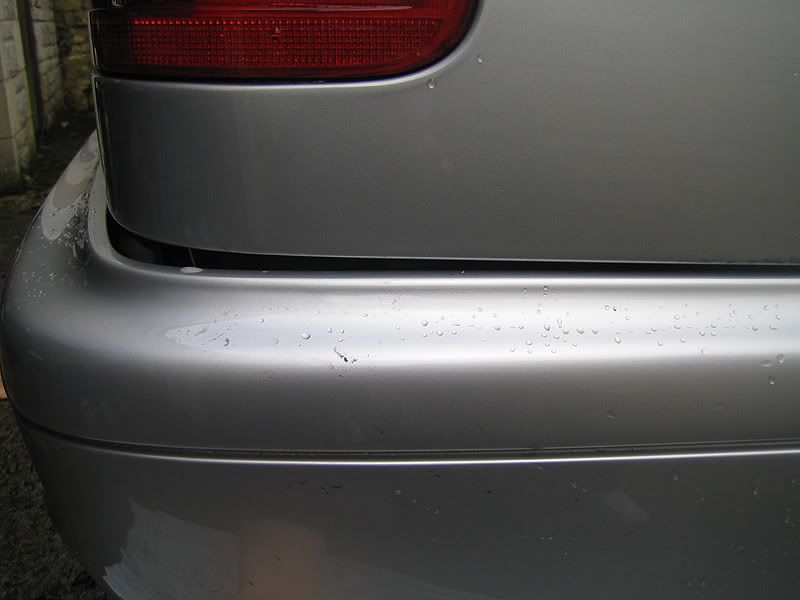
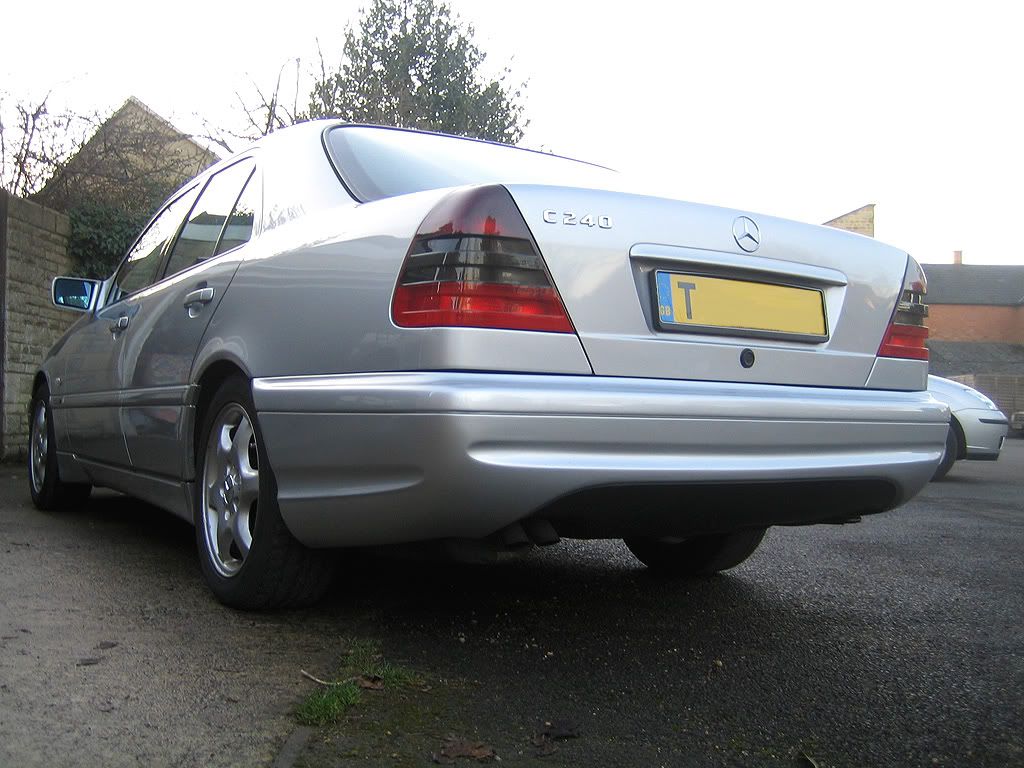
All going well, it should look like this 
Any other questions eg, please ask!
-
Another excellent How To article. Well Done!
The 1" 4 holes in the rear and the holes in each side, are these for the optional parktronic sensor wirings?
-
Originally posted by AirPost
Another excellent How To article. Well Done!
The 1" 4 holes in the rear and the holes in each side, are these for the optional parktronic sensor wirings?
Good point, perhaps they are!?!
-
Hey, the link to the front bumper removal doesn't work and I can't seem to get it to pop up in a search, anyone wanna walk me through it?
-
You have four nuts to remove. Two will be expose when you open the hood, the other two are down inside the lower grill portion. Bumper pulls right off straight out. Very simple
-
Thanks Vetruck, but mine has screws on the right and left side. I can easily access the ones on the passenger side(usa) but not on the drivers side. I'll post up pics if I get it sorted.
 Posting Permissions
- You may not post new threads
- You may not post replies
- You may not post attachments
- You may not edit your posts
-
Forum Rules


 Reply With Quote
